Our research has shown that when pheasants are well fed through the spring, they are much more successful, on average fledging 85% more chicks per hen.
Also, a well fed bird is much more likely to attempt to renest if she fails the first time. It is important to understand that effective spring feeding needs a different approach from what is carried out in the shooting season.
Pheasants, in particular, spread away from their winter coverts to woodland edges, hedgerows, ditches, pit holes and other more boundary habitats. Spring feeding is therefore best moved with them, and hoppers are the ideal tool.
Follow the simple steps below to convert a 20 or 25 litre metal drum into a feeding hopper:
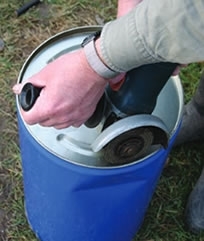
Step 1
Cut the top out of drum with an angle grinder, leaving the top rim intact for strength. Clean out the drum if needed. Make a clip-on top from a sheet of metal approx 5cm wider than the drum, by folding over approx 2.5cm each side. Drums with clip on lids are also available and this obviates the need for this step.
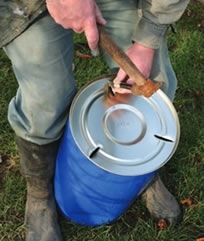
Step 2
Cut slots in the base with a hammer and cold chisel. These can be adjusted for food flow Open with a twist of a screwdriver, close by tapping from inside with a hammer.
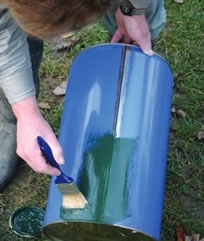
Step 3
Paint a neutral ‘country’ colour so that it blends into its landscape. Ours are all dark green for uniformity and tidiness.
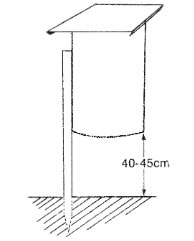
Step 4
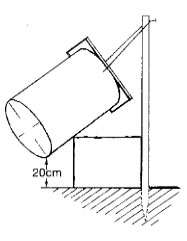
(Above left) Nail to a post, fill with wheat and clip the lid on. The base should be about knee high (40-45cm from the ground) for pheasants (30cm for poults) and two-thirds this height for partridges. Or lean the feeder against a bale of straw for partridges (above right).
Download more helpful FREE guides form the GWCT